
Has your car battery ever died on you? Don’t worry, you’re not alone! It’s a common issue that can happen to anyone. But here’s the good news: jump-starting your car is a simple process that can save you from the hassle of calling a tow truck or mechanic. In this blog, we’re going to guide you through the steps to jump-start your car safely and easily. So let’s dive in!
Step 1: Check Your Battery
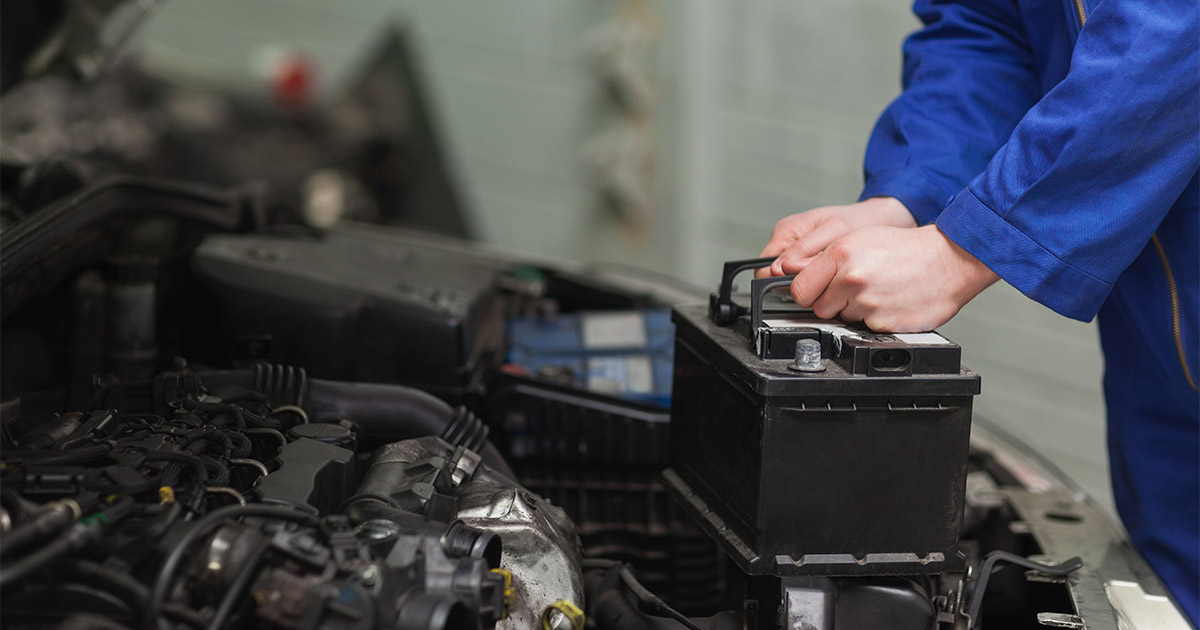
Before we get started, take a moment to inspect your battery. Make sure it’s properly attached and free of any corrosion or leaks. These issues can cause your battery to fail, so it’s important to address them before attempting to jump-start your car.
Step 2: Gather Your Tools
Now let’s gather the tools you’ll need to jump-start your car. You’ll want to have a set of jumper cables and a working car with a charged battery. Jumper cables are typically black and red with clamps on both ends, and you can easily find them at your local auto parts store or right here at Sky Ford. Once you have everything ready, park the working car close enough to your vehicle so that you can easily attach the jumper cables to both batteries.
Step 3: Attach the Cables
Before we start attaching the cables, make sure both cars are turned off. Now, locate the positive and negative battery terminals on each car. These terminals are usually color-coded and labeled with a plus (+) or minus (-) sign.
Start by attaching one end of the positive (+) cable (usually red) to the dead battery’s positive terminal. Then, do the same for the support car’s positive terminal. Next, take one end of the negative (-) cable (usually black) and attach it to the good battery’s negative terminal. Finally, attach the other end of the negative cable to the dead car’s negative battery terminal or an unpainted piece of metal on the car.
Step 4: Start the Working Car and Wait
Now it’s time to fire up the working car! Start it up and let it run for about 15 to 20 minutes. As the working car runs, its charging system will start to charge the dead battery on your vehicle.
Step 5: Try Starting Your Car
After waiting for 15 to 20 minutes, give starting your own car a shot. If it starts up, congratulations! You’ve successfully jump-started your vehicle! Now, let’s disconnect the cables in the opposite order we connected them. Remember to be careful not to touch the metal parts of the cables together as you remove them. Start by removing the negative (-) cable from your car’s battery, followed by the negative cable from the support car’s battery. Then, do the same for the positive (+) cable on each vehicle.
And just like that, you’re done! Wasn’t that easy?
Step 6: If Your Car Doesn’t Start
In the rare event that your car still doesn’t start, don’t worry. Just repeat the process and give it another try. If it still doesn’t work, it might be time to consider getting a new battery or having your car inspected by a mechanic at Sky Ford.
Final Thoughts
Jump-starting your car is not only easy, but it’s also a practical skill that every driver should know. However, prevention is always better than cure. Remember to turn off all lights and electronics in your car when the engine is not running to prevent your battery from draining. Regularly maintaining your battery by cleaning it and checking for leaks or corrosion will also help prolong its lifespan.
With the right tools and knowledge, knowing how to jump-start a vehicle can quickly put you back on the road and save you from a costly tow truck call. Just remember to handle jumper cables with caution, as they contain electricity that can be dangerous if not used correctly. Follow these steps, and you’ll be more than ready to jump-start your car the next time your battery dies on you. Happy driving!
Connect with us

